
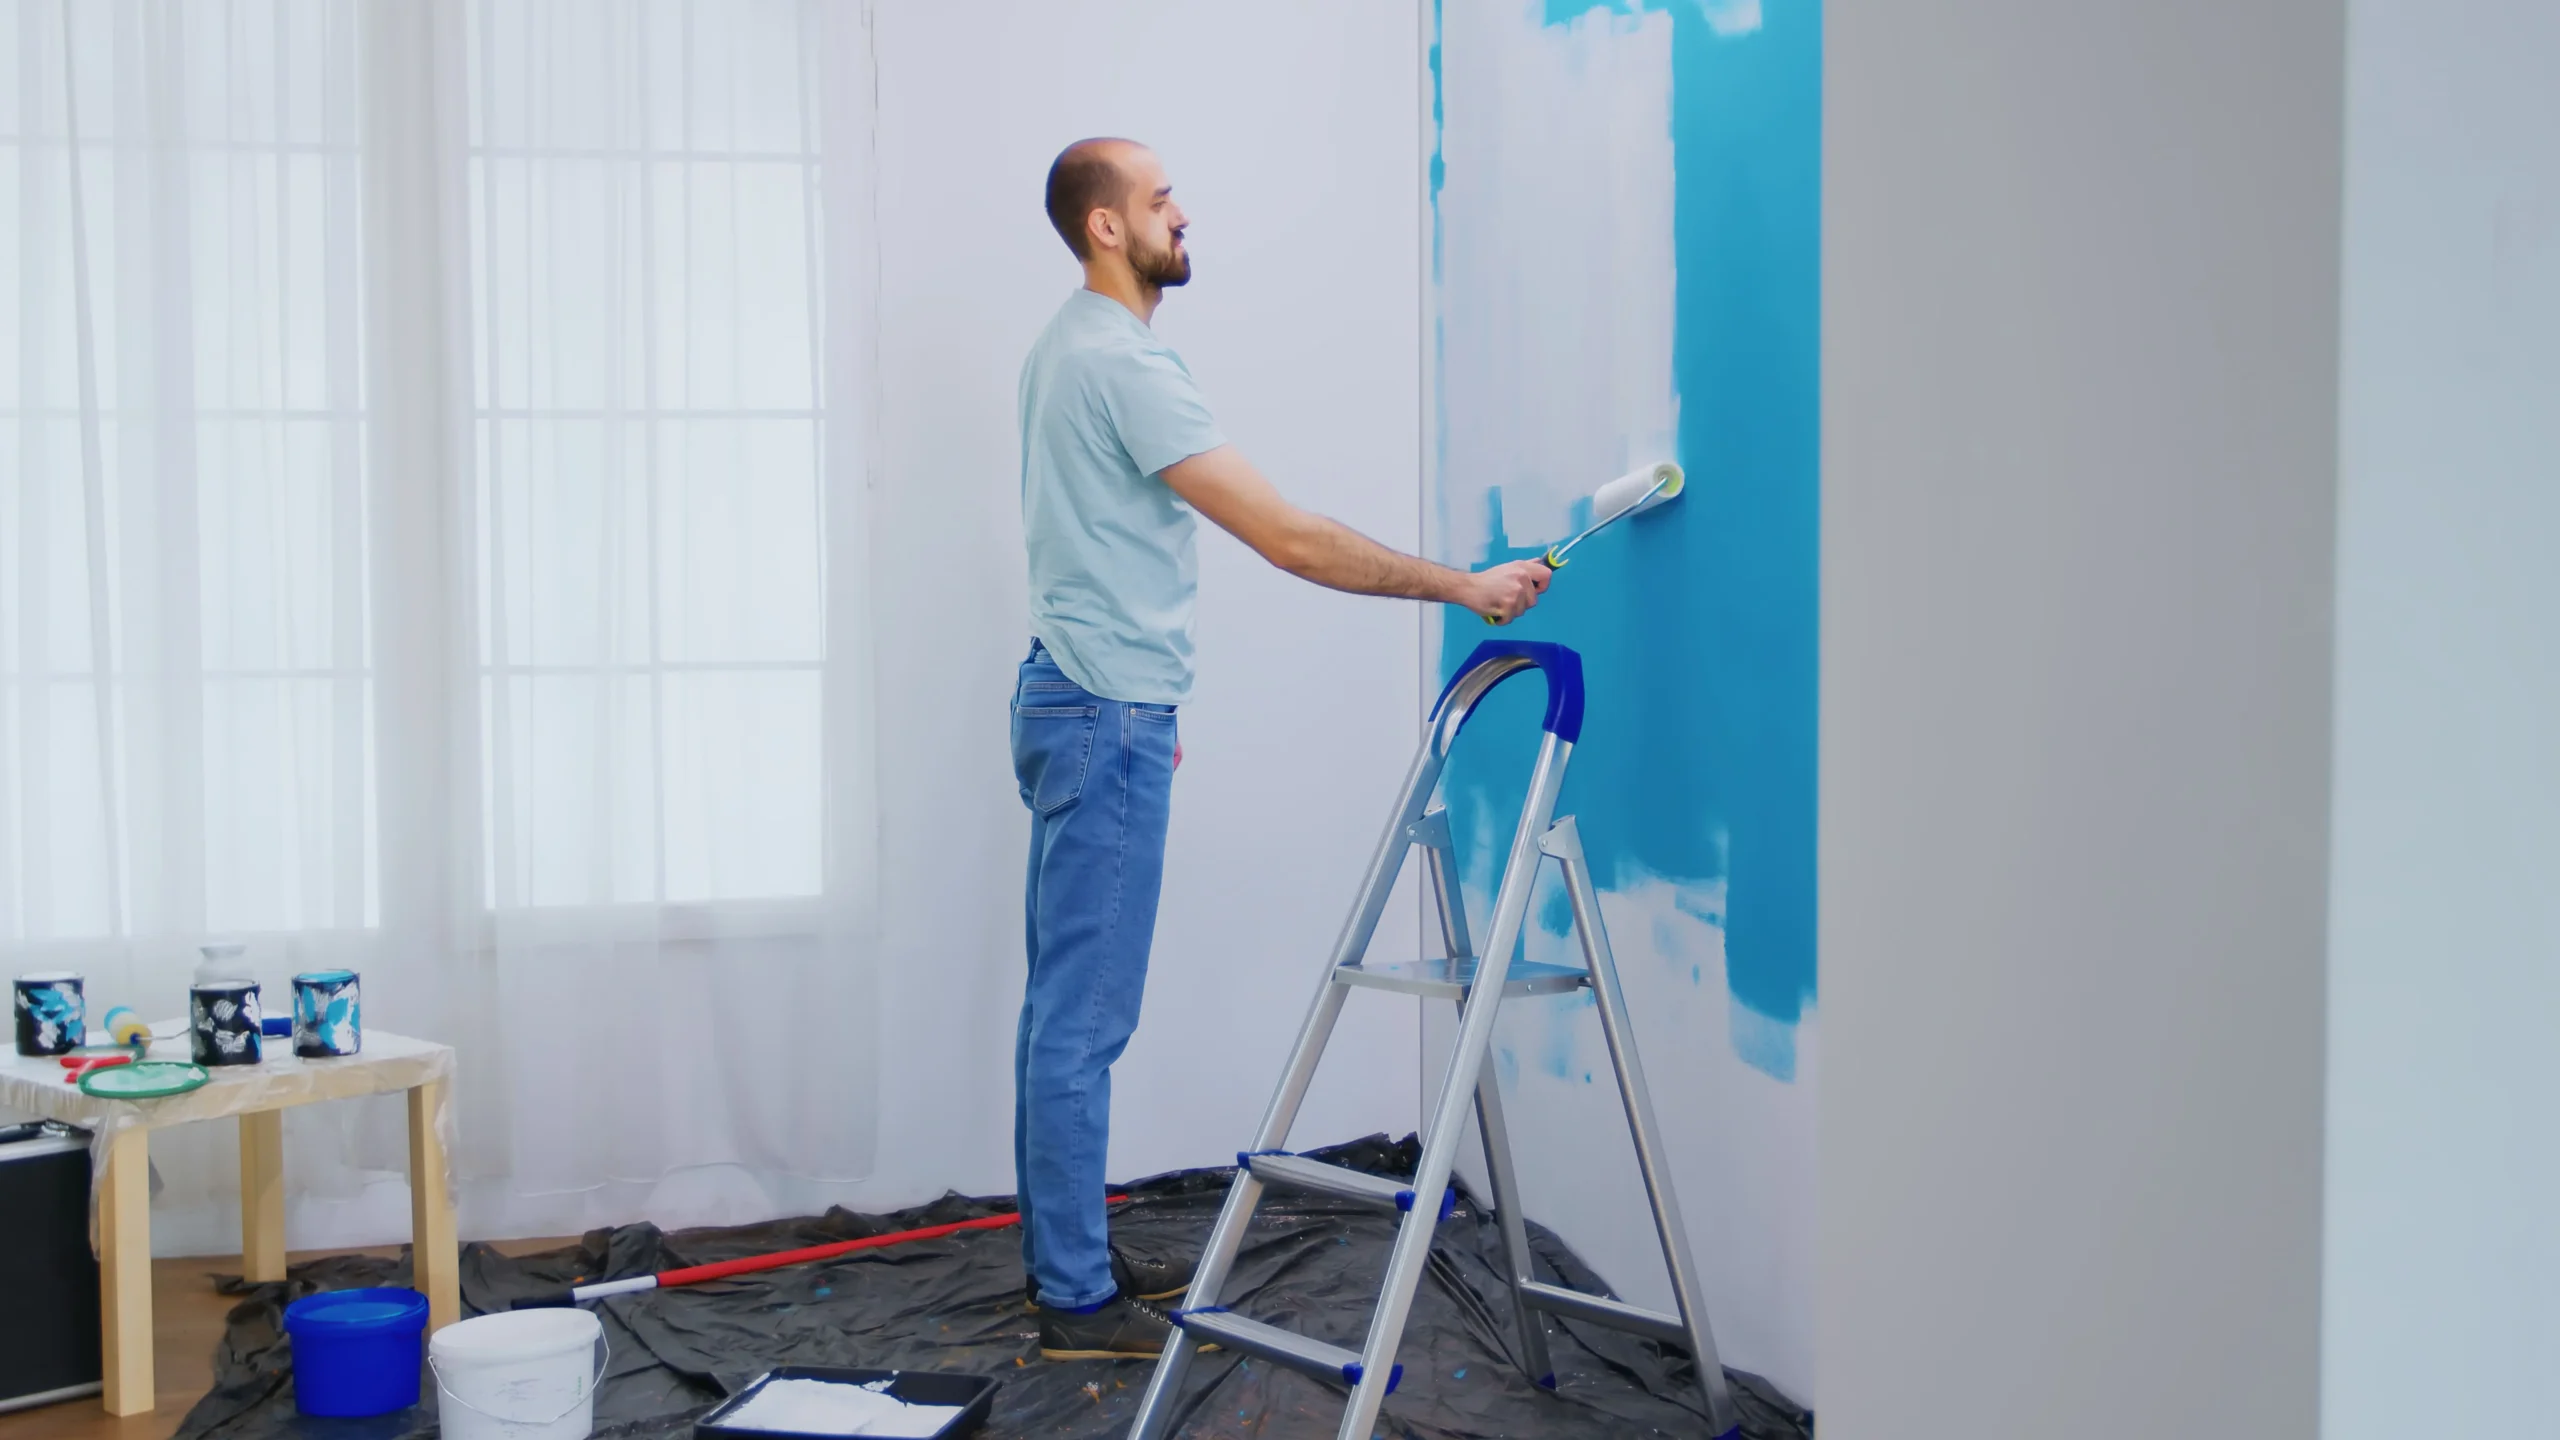
To paint a room like a pro, repair and sand any wall imperfections first, apply painter’s tape along trim and edges, cut in the edges with an angled brush before rolling, and work in small sections using a “W” pattern to spread paint evenly while keeping a wet edge throughout. Rushing wall prep or skipping the cutting-in step is what most separates a DIY paint job from a professional-looking one.
Painting a room is one of the most affordable ways to transform a space, but the difference between a flawless finish and a patchy one usually comes down to preparation, not the paint itself. Knowing how to paint a room like a pro means slowing down on the steps most people rush through — prep, taping, and technique — rather than needing any special skill.
Step 1: Plan the Project
Decide exactly what you’re painting — walls only, or walls plus trim and ceiling — and choose your color and finish before buying supplies. Test your chosen color on the actual wall or on a painted foam board taped up in the room; paint chips and color charts often look noticeably different once applied at full scale under your room’s lighting.
Step 2: Prep the Room
- Remove or move furniture away from the walls, and cover the floor with a drop cloth
- Remove light switch plates, outlet covers, and any wall fixtures with a screwdriver
- Open a window or door for ventilation to reduce paint fumes while you work
Step 3: Repair and Prep the Walls
This step is where most of the “pro” difference actually happens.
- Inspect the walls closely for cracks, holes, dents, or peeling paint
- Fill any holes or cracks with spackle or caulk using a putty knife, and let it dry completely
- Sand patched areas smooth with fine-grit (220-grit) sandpaper once dry
- Wipe down the walls with a damp cloth to remove dust and any surface grime, and let them dry fully
- Spot-prime any patched areas — priming the entire wall usually isn’t necessary unless it’s heavily stained or in poor condition overall
Step 4: Apply Painter’s Tape
Mask off trim, baseboards, window sills, door casings, and outlet openings with painter’s tape. Press it down firmly along the edge to prevent paint from bleeding underneath, which is one of the easiest ways to get clean, crisp lines without needing a perfectly steady hand.
Step 5: Paint the Ceiling First (If Included)
If your project includes the ceiling, paint it before the walls. This order lets any accidental drips or spatter on the walls get painted over afterward, rather than the reverse.
Step 6: Paint Trim, Moldings, and Baseboards
If you’re painting trim a different color or finish than the walls, do this before the wall color goes on — it’s easier to tape off finished trim than to cut in cleanly around trim that hasn’t been painted yet.
Step 7: Cut In the Edges
“Cutting in” means painting the edges of the wall — where it meets the ceiling, trim, and corners — by hand with an angled brush before using a roller for the open wall space.
- Use a 2½-inch angled sash brush for control
- Work in small sections, roughly 4 feet at a time
- Move the brush in smooth, side-to-side strokes rather than long single passes
This step matters because rollers can’t reach cleanly into corners or right up against trim — skipping it (or rushing it) is one of the most common reasons a DIY paint job looks uneven along the edges.
Step 8: Roll the Walls
Once the edges are cut in, move to the roller for the larger wall sections. Professional painters generally follow a consistent motion:
- Load the roller and apply paint in a “W” shape to fill an imaginary square on the wall, using medium pressure
- Go back over the same square with more pressure, filling in the “W” evenly and blending it into any wet edges nearby
- Finish with the lightest pressure you can manage, using long, parallel strokes to smooth out roller marks
Work in sections and always blend into the wet edge of the previous section before it dries — this is what prevents visible lap marks once the paint cures. A full roller with a ⅜-inch nap typically holds enough paint to cover 9 to 15 square feet before needing to be reloaded.
Step 9: Apply a Second Coat
Let the first coat dry fully — check your paint can for the specific recommended time — before applying a second coat. Most colors, especially darker or more saturated ones, need two coats for full, even coverage and to avoid patchiness where the underlying wall color or primer shows through.
Step 10: Remove Tape and Finish Up
- Remove painter’s tape while the final coat is still slightly tacky rather than fully dry, pulling at a slight angle away from the wall — this gives the cleanest line and reduces the risk of pulling up dried paint with the tape
- Reattach light switch plates, outlet covers, and any wall fixtures
- Do a final walkthrough for any missed spots or drips before moving furniture back
Common Mistakes That Give Away a DIY Paint Job
- Skipping wall repairs — even small unfilled dents and cracks show clearly once painted, especially in raking light
- Not cutting in before rolling — leads to visible unevenness along corners and trim lines
- Letting sections dry before blending the next one — causes visible lap marks once the paint cures
- Removing tape after the paint fully dries — increases the risk of peeling paint away with it instead of a clean edge
FAQs About How to Paint a Room Like a Pro
Do I need to prime a wall before painting?
Not always. Spot-priming patched or repaired areas is usually enough; priming the entire wall is generally only necessary if it’s heavily stained, very dark, or in poor condition overall.
How many coats of paint does a room need?
Most walls need two coats for full, even coverage, especially with darker or more saturated colors. A single coat often leaves patchy spots where the previous color or primer shows through.
What is “cutting in” when painting a room?
Cutting in means painting the edges of a wall — corners, trim lines, and where the wall meets the ceiling — by hand with an angled brush before rolling the larger open sections.
When should I remove painter’s tape after painting?
While the final coat is still slightly tacky, not fully dry. Removing it too late increases the risk of peeling dried paint away along with the tape.
Final Thoughts
Learning how to paint a room like a pro isn’t really about brush skill — it’s about not skipping the unglamorous steps: repairing the walls properly, taping carefully, and cutting in before rolling. Slow down on prep, and the actual painting goes faster and looks noticeably more finished.
For more home upkeep guides beyond painting, our deep cleaning checklist covers the regular maintenance that keeps a freshly painted room looking its best for longer. This is one of several basic home repairs every homeowner should know — see the full guide for more.